Note: This post contains affiliate links. Read my policy here.
Baby products come with major sticker shock. Of the many hefty baby expenses out there, one that really adds up over time is baby food.
When my son started solid foods at four months of age, I was baffled by the fact that a minuscule jar of mashed bananas — on sale! — cost more than a full-sized banana from the produce department. For standard Gerber fare, my supermarket wanted to charge me, on a good day, $0.50 per portion of Stage 1 foods, $0.60 per portion of Stage 2 foods, and $0.75 per portion of Stage Stage 3 foods. The Beech-Nut foods usually hovered around twice that price!
There was no way I was willing tho shell out that much money for groceries when a simple solution would allow me to have high-quality baby food for so much less — making my own baby food.
Besides, isn’t one of the goals of starting your child on solid foods to acclimate him to the foods that you actually eat? Is it just me, or does banana baby food bear no resemblance to the texture of a banana (even a mashed-up banana) and taste . . . off? By grinding up the foods you actually eat, you are making the transition to “grown-up” foods so much easier for your little guy! Fair warning: After consistently being fed fresh, homemade baby food, my son turns his nose up at the gloppy Gerber stuff!
Let’s dispel a few myths . . .
Myth 1: It doesn’t save that much money.
The sale price for Gerber Stage 1 bananas in my area comes to $0.30/oz. With a standard produce department sale however, I can make banana baby food for about $0.02/oz. That’s right; I can feed my kid one meal of store-bought food or 15 meals of homemade food for the same price.
Myth 2: It takes too much time.
With the right tools, you can make massive quantities of baby food in no time. If I devote an hour to the task, I can easily produce five types of baby food totaling in excess of 100 oz.
Myth 3: You have to start with fresh food.
If I had to shuck ears of corn, my son would rarely eat corn. However, I can pick up a bag of frozen kernels at about $0.08/oz — still way cheaper than any prepared baby food — and avoid the aggravation of being draped in corn silk and wasting valuable time.
Embrace your store’s freezer section. You can save hours while still keeping your cash by picking up frozen corn, broccoli, peas, green beans, mango, papaya, raspberries, strawberries, and more.
Myth 4: Making baby food is too hard.
In my experience, making your own baby food is hard to mess up! Just follow the steps below for foolproof baby food.
Recommended Tools
- Steamer basket: Use to cook fruits & veggies to a perfect, soft consistency while retaining nutrients. This is also handy for thawing out frozen foods that you plan to use uncooked in your baby foods.
- Food processor: You can mash food by hand if you’ve got the time and upper body strength, or you can see if your blender is up to the task. A sturdy food processor though is priceless for making flawless purées and chunky baby foods.
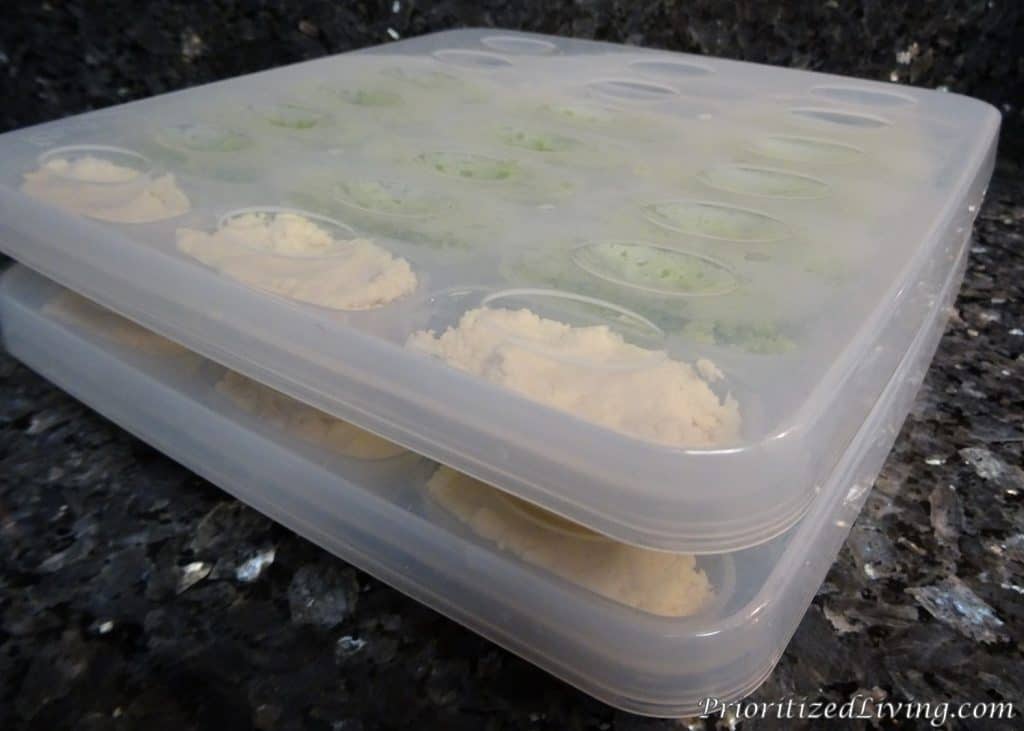
- Freezer trays: You can absolutely use standard ice cube trays (though it’s helpful if they have lids so that you can stack them in your freezer). I love these freezer trays though. Each well holds exactly one ounce for perfect portions every time, and I can unmold one “cube” at a time.
- Freezer bags: Once your foods are frozen, pop them out of their molds and toss them into labeled freezer bags. Tip: Keep your freezer bags organized with freezer bins.
The Process
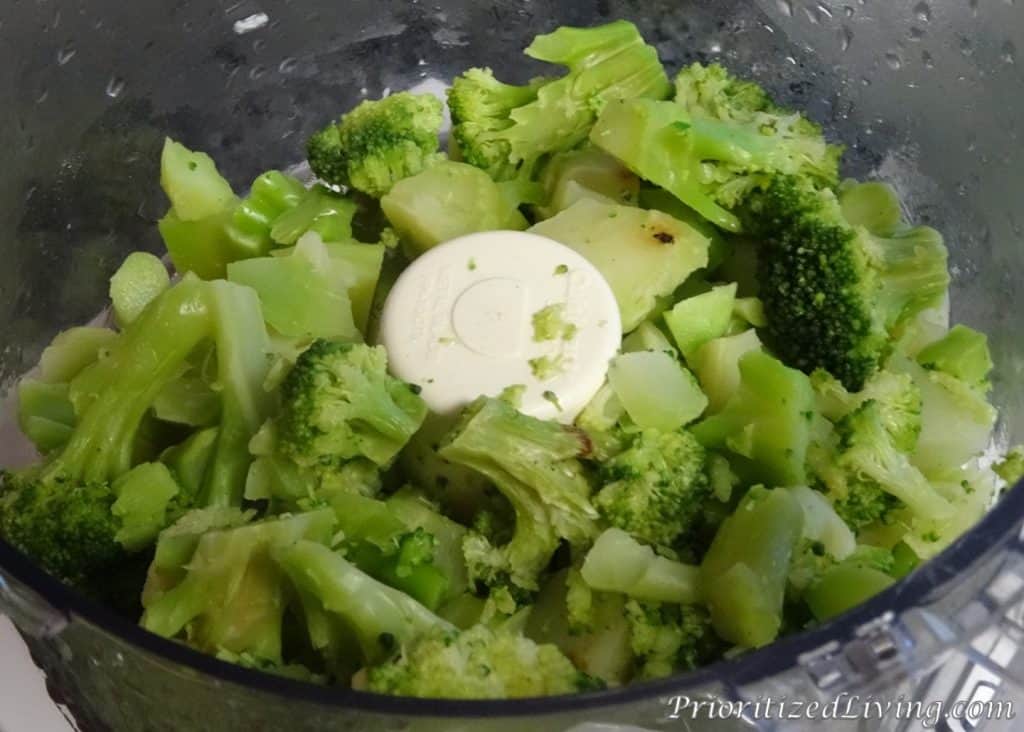
Step 1: Thaw and/or cook food.
Many fruits (bananas, mangoes, papayas, most berries) can be mashed or puréed from a raw state. Other foods require cooking to make them safe for consumption and/or to soften them appropriately. Be sure to cook any meats you are using all the way through. Check with your pediatrician as needed.
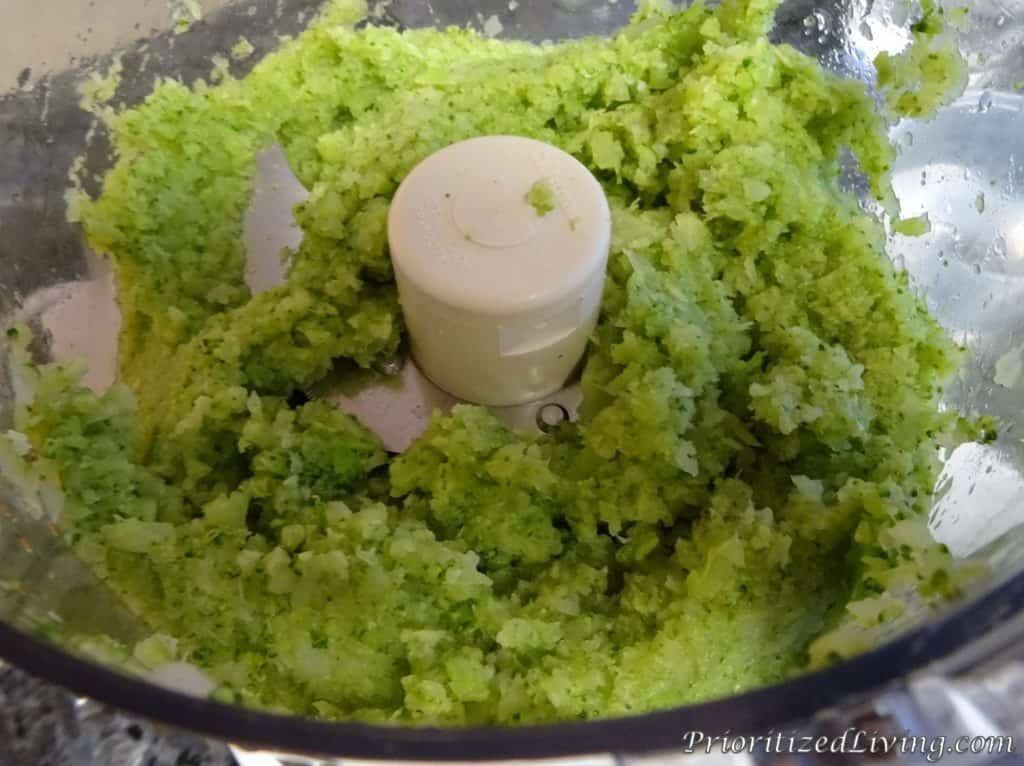
Step 2: Process food.
Dump a single food item into your food processor and pulse. You’ll want purées for young babies but can do slightly chunkier food for older kids. Add water as needed to get the consistency you want.
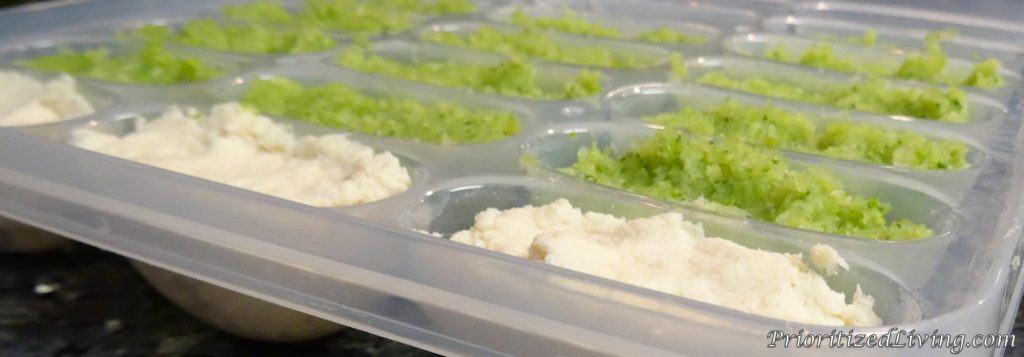
Step 3: Portion into freezer trays.
Pull open your silverware drawer, grab a tablespoon, and scoop your food directly into your freezer trays, filling just about to the top of each well. If you’re likely to forget which food is which, label them now!
Step 4: Freeze baby food.
Ease your creations into the freezer and allow to set completely.
Step 5: Unmold and store.
Label your freezer bags, pop your frozen foods out of the freezer trays, and seal them into the bags. Keep bags in the freezer.
Step 6: Enjoy!
Before your baby’s meal, pull the desired food cubes from your freezer. (If possible, leave enough time in advance for the foods to defrost in a dish in the fridge.) Follow your pediatrician’s recommendations for serving size, allowable foods, and introducing new foods. With individual ingredients in each cube, you can easily grab yogurt and cherry for breakfast; chicken, carrot, and broccoli for lunch; beef, corn, and peas for dinner! Introduce allowable spices; try sprinkling some cinnamon over the apple purée you add to your baby’s cereal in the morning.
Tip: Consider the consistency of your baby food when creating meals. Puréed berries, for instance, tend to be extremely liquidy, which can make for frustrating mealtime if you try to feed that to your baby as-is. However, those gooey purées are great when mixed with thicker ingredients like banana, yogurt, baby cereal, and meats.
Have you found success and big savings in making baby food at home?
Leave a Reply